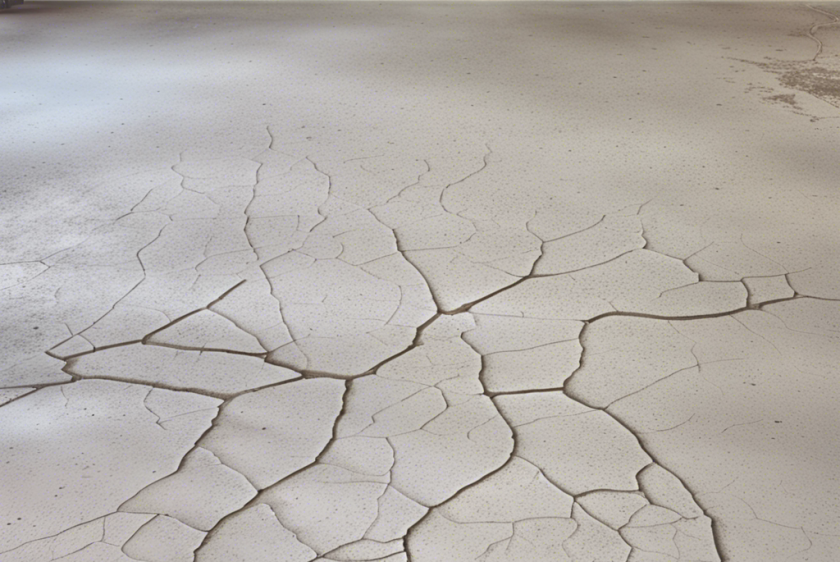
How to repair cracked concrete garage floors
Introduction
At first glance, a cracked concrete garage floor may seem like an impossible task to fix. However, don’t let the cracks intimidate you – repairing them is easier than it appears. Today, I am going to share some DIY concrete fixes that are affordable, effective, and can restore your garage floor to its former glory. So, roll up your sleeves, let’s get cracking with some cracked concrete solutions!
Diagnosing Cracked Garage Floors
Before we jump into the nitty-gritty of concrete repair, we must first understand why these cracks occur. Moisture seepage, temperature fluctuations, or merely the weight of vehicles can contribute to the wear and tear. Regardless of the cause, diagnosing the reason behind the cracking can play a crucial role in determining the best line of action for garage floor maintenance.
The Essential Repairing Concrete Cracks Kit
The journey to garage floor restoration begins with assembling the essential repair kit. This kit should include a good quality concrete patch material, a wooden float, a trowel, stiff-bristled broom, a wire brush, safety goggles, and work gloves. Remember, always to put safety first – always wear safety glasses and gloves during all DIY concrete fixes.
Prepping the Cracked Garage Floor
A cardinal rule in the world of DIY concrete repair is the better the preparation, the more successful the repair will be. Start by removing any loose concrete particles from the cracks using a wire brush. Then, clean the area with a stiff-bristled brush, ensuring you scrub away any dirt or oil stains. This ensures the patching mixture will adhere securely.
The Right Concrete Patch Product for Your Cracked Garage Floors
Next, it’s time to choose the right product to patch garage floor cracks. The market is laden with options, so always go for a product specifically designed for concrete repair. Some products are ready to use, while others require mixing – choose what suits your comfort and level of expertise.
Applying the Patching Mixture
Following the product instructions, apply the patching mixture to the cracks. Ensure the filling is slightly above the surface to account for settling. Use a trowel to press the mixture into the crack and smoothen the surface. Pop any air bubbles that form and fill in any gaps as you go.
Making Your Repairs Last
After tending to the cracks, it’s crucial to add a sealer on top. Not only does this step make your repairs last longer, but it also adds a nice, polished look to your garage floor. Choose from options like epoxy or masonry sealer, with both offering good protection to your newly repaired floor.
Regular Garage Floor Maintenance
Garage floor maintenance is pivotal in preventing future cracks; the more preventative steps you take, the better the chances of your garage floor remaining crack-free. Start by sealing the concrete floor to keep water out – remember, moisture is a significant contributor to cracking concrete. Regular cleaning also prevents the accumulation of dirt and debris that can wear down your floor over time.
Conclusion
Don’t be discouraged by the sight of cracked garage floors. With some patience, simple techniques, and great DIY concrete fixes, garage floor restoration can become an easy and achievable task. So, let go of the myth that concrete repairs are only for professionals and take control of your own garage floor maintenance today!


